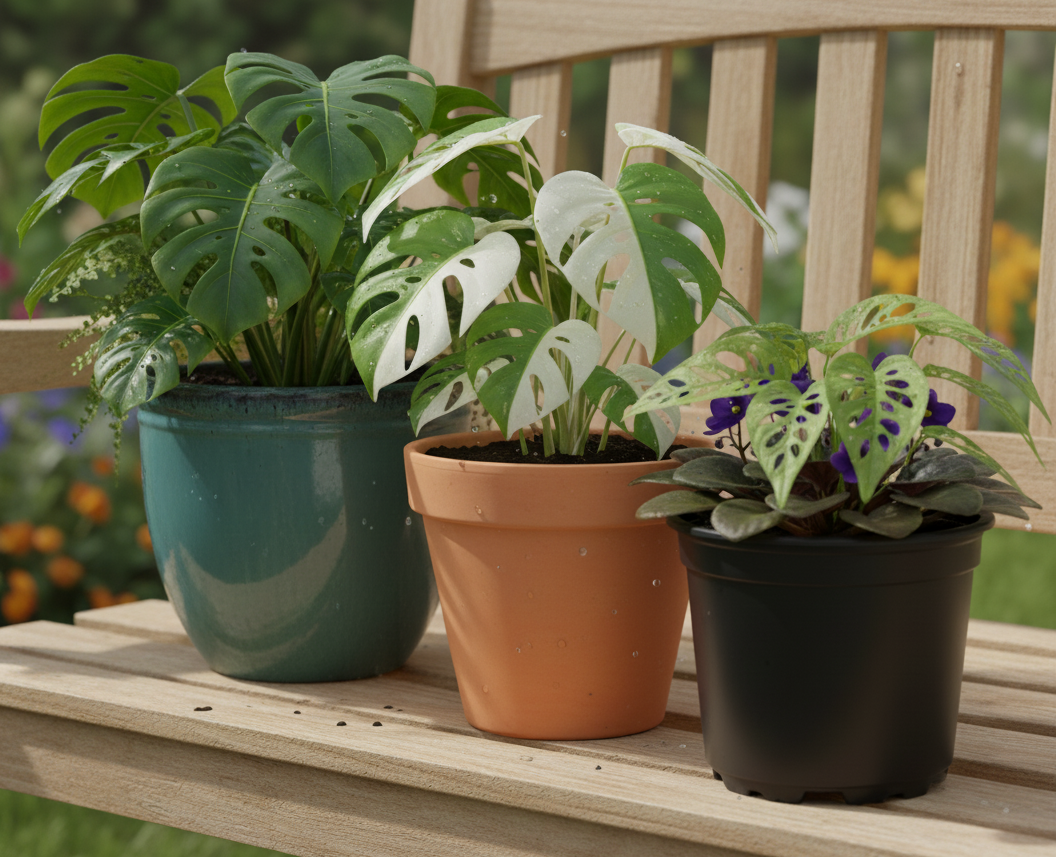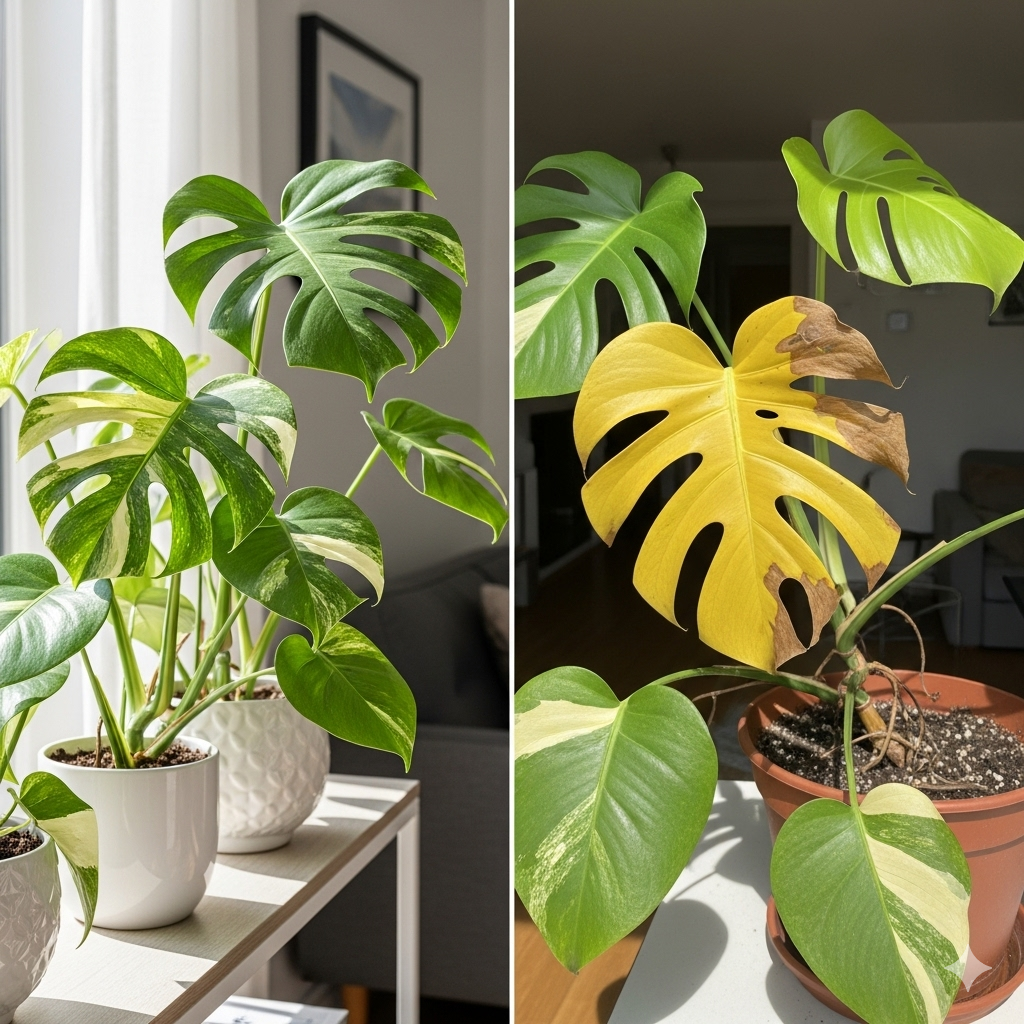
Variegated Monstera plants like Monstera Albo and Monstera Thai Constellation have exploded in popularity. Their striking marbled leaves make them statement plants in any home, and their rarity keeps demand (and prices) high. Because of this, many plant lovers choose to propagate variegated Monstera to grow new plants for themselves, to gift, or even to sell.
If you’ve ever felt nervous about cutting your prized plant, don’t worry — propagation is easier than you think. With the right techniques, you can turn one healthy Monstera into several thriving plants. This step-by-step guide walks you through everything you need to know, from making your first cut to planting your rooted cuttings in soil.
Whether you’re a beginner or a seasoned plant parent, this comprehensive guide will help you successfully propagate variegated Monstera plants and maximize your chances of success.
Why Propagate Variegated Monstera?
Before diving into the how-to, let’s look at why propagation is worth trying:
- Save money: Variegated Monstera plants often sell for hundreds of dollars. Propagating your own can save you from buying multiple mature plants.
- Grow your collection: With successful propagation, one plant can become many.
- Share with others: Gifting a cutting to a fellow plant enthusiast is always appreciated.
- Preserve rare genetics: Since variegated plants are rarer, propagation helps preserve their unique traits.
- Rejuvenate an overgrown plant: Cutting back a leggy Monstera encourages new growth and keeps the parent plant looking healthy.
The Anatomy of a Variegated Monstera Cutting
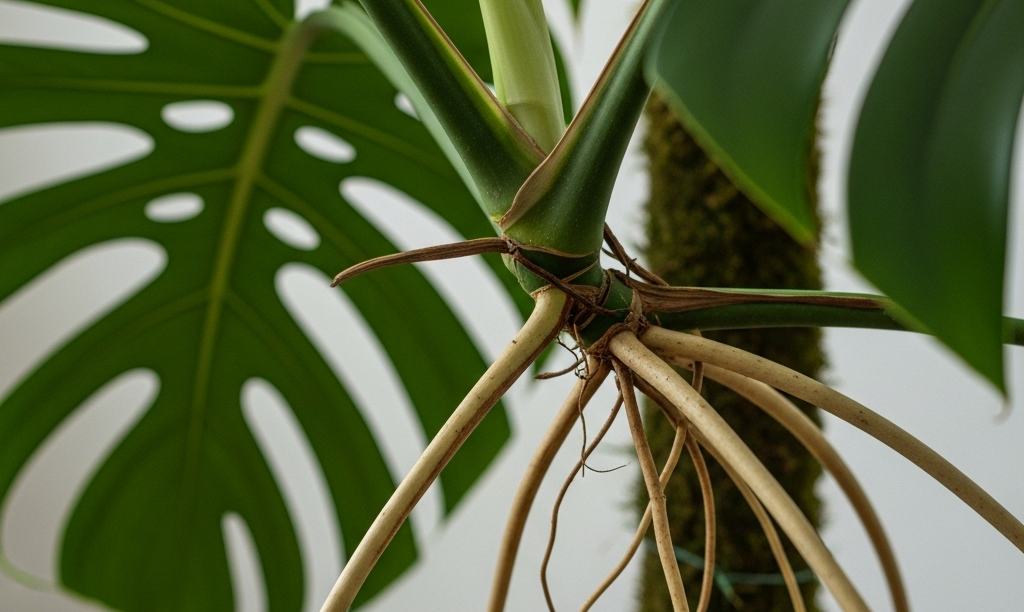
To propagate successfully, you need to understand the parts of a Monstera cutting. A healthy cutting must include a node, because that’s where new roots and stems will grow.
- Leaf – The part that performs photosynthesis.
- Petiole – The stem that connects the leaf to the vine.
- Node – The swollen bump on the vine where roots and new growth develop.
- Aerial roots – Root structures that grow above the soil, which can turn into soil roots when propagated.
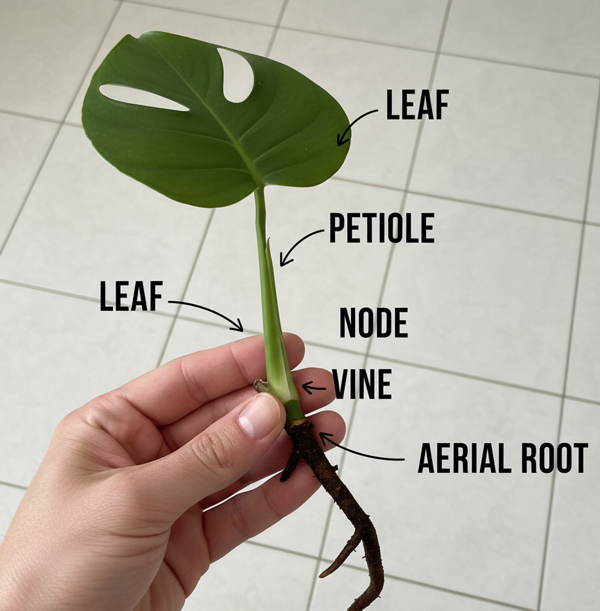
👉 Important: A cutting without a node will not grow into a new plant, even if the leaf stays green for a while. Always include at least one node.
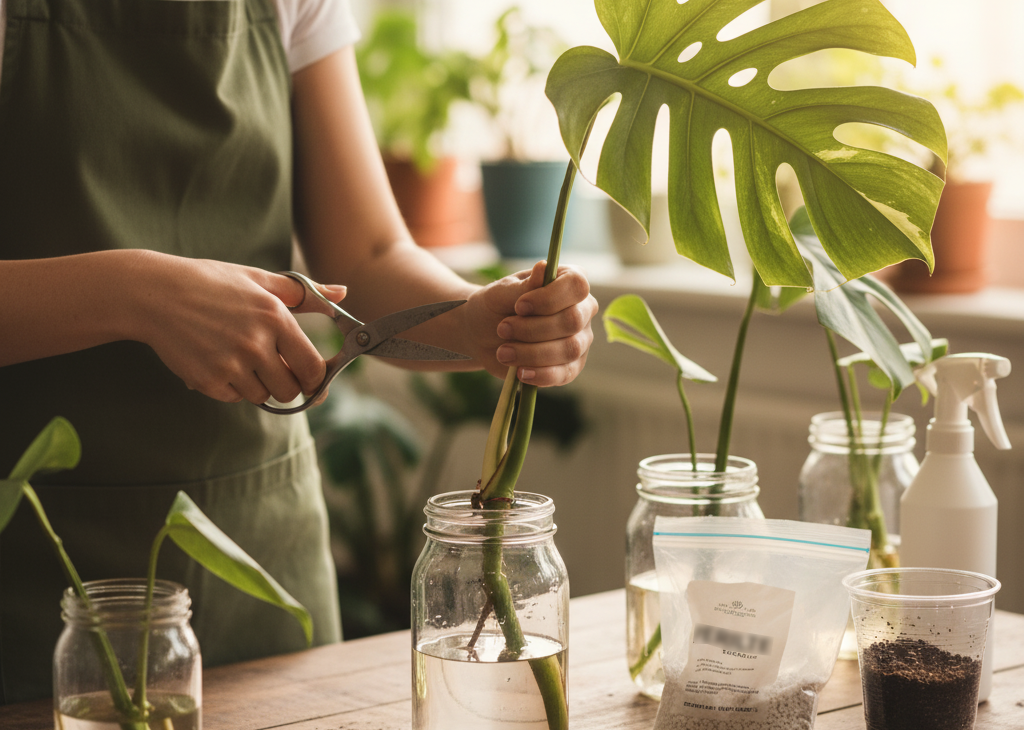
Step 1: Make Single Node Cuttings
The first step in propagating variegated Monstera is to take single node cuttings. This allows you to maximize the number of cuttings from your parent plant.
- Choose a healthy vine on your Monstera.
- Identify a section with at least one leaf and one node.
- If possible, include aerial roots, as these will speed up rooting.
- Use sterilized scissors or pruning shears to snip about an inch on either side of the node.
👉 Pro Tip: Always use clean, sharp tools to avoid introducing bacteria or fungus to your plant.
Each cutting should look like a single leaf attached to a small section of vine with a visible node.
Step 2: Place Cuttings in Water
Water propagation is the easiest and most popular method for Monstera propagation. It lets you watch roots develop and helps you know exactly when your cutting is ready for soil.
- Fill a clean glass jar with room-temperature water.
- Place the cuttings inside, making sure the nodes are fully submerged.
- Position the jar near a window with bright, indirect light. Morning sun is fine, but avoid harsh midday rays.
- Change the water at least once a week (or sooner if it looks cloudy).
👉 Warmer rooms encourage faster rooting. If your space is cool, consider placing the jar near a grow light or in a warmer area.
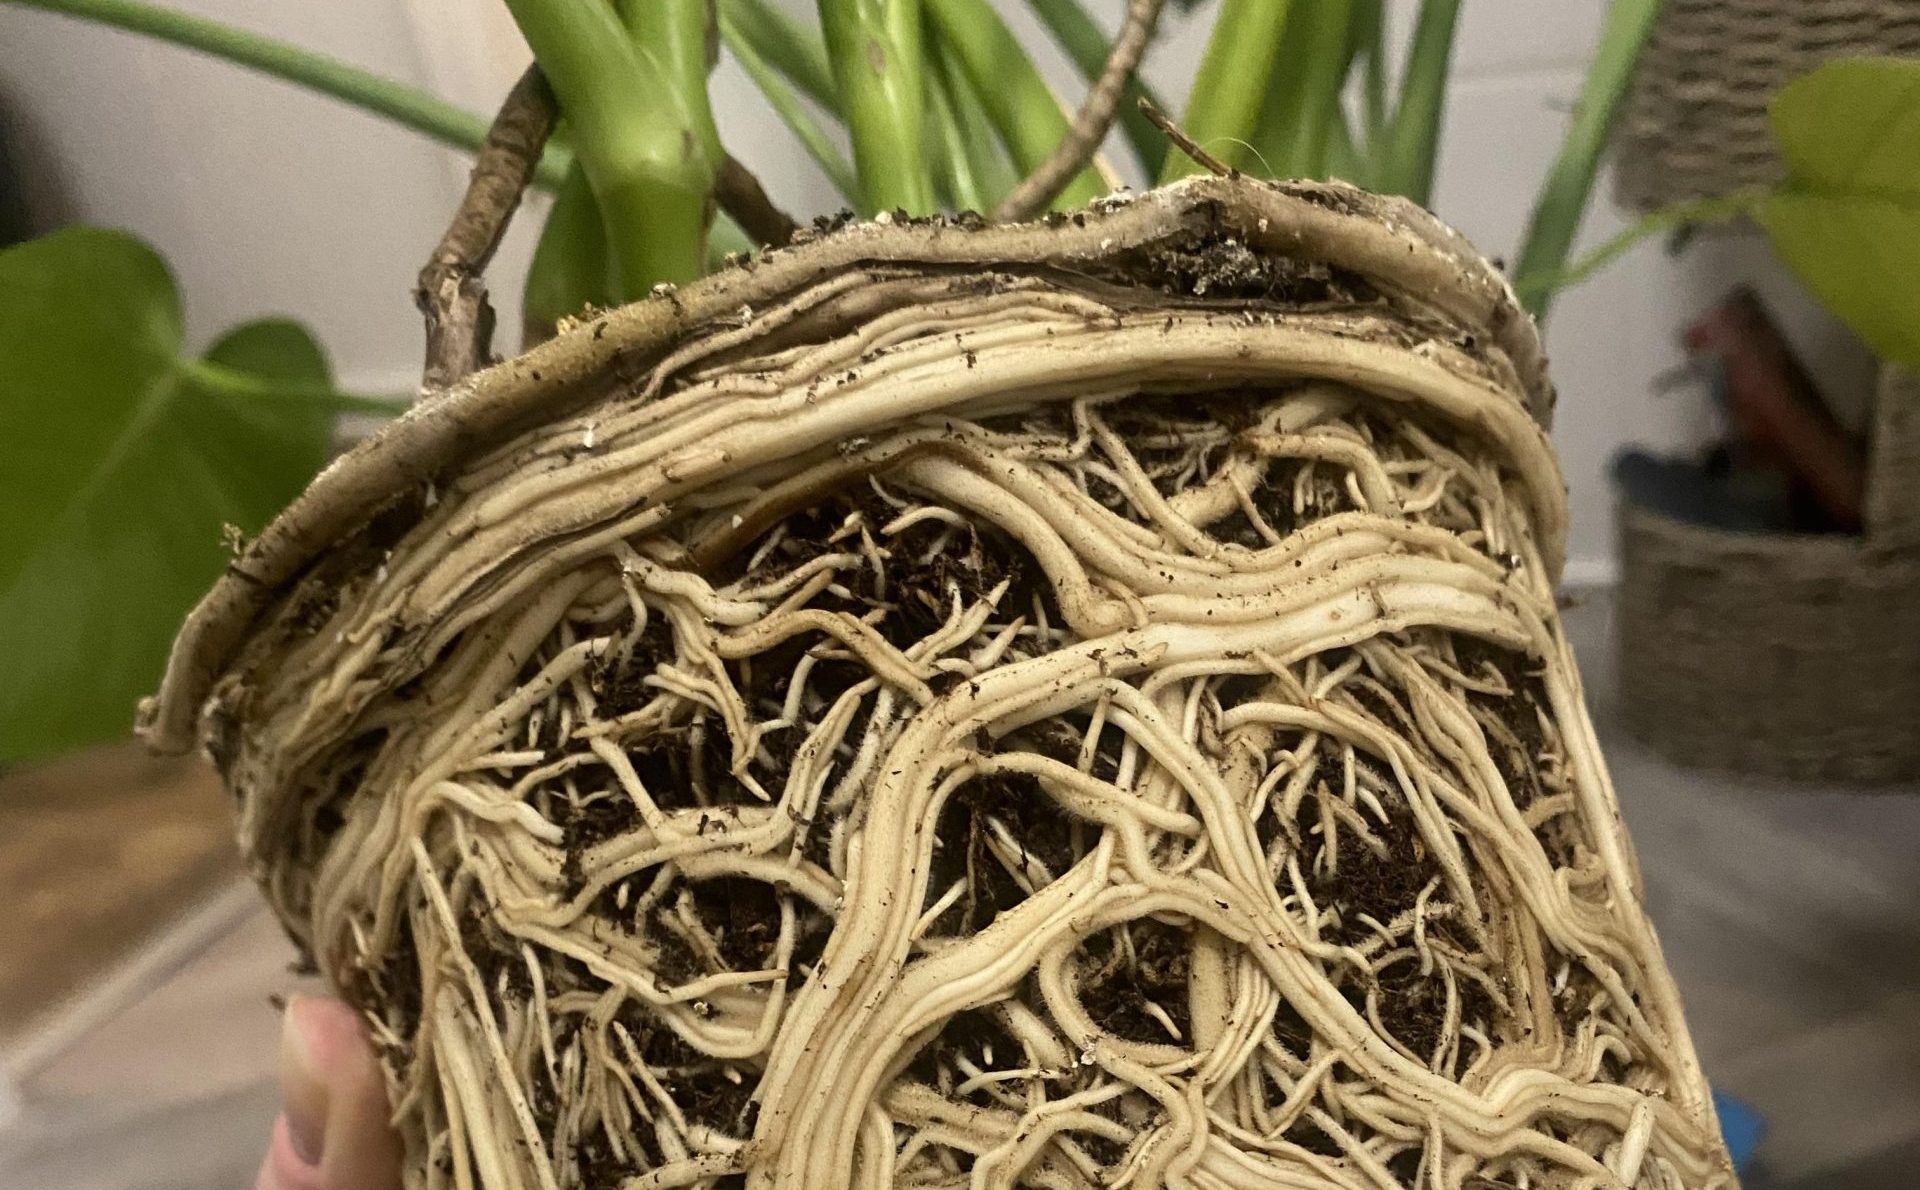
Roots typically begin forming within 2–6 weeks, depending on the season and conditions. Wait until roots are about 1–2 inches long before transitioning to soil.
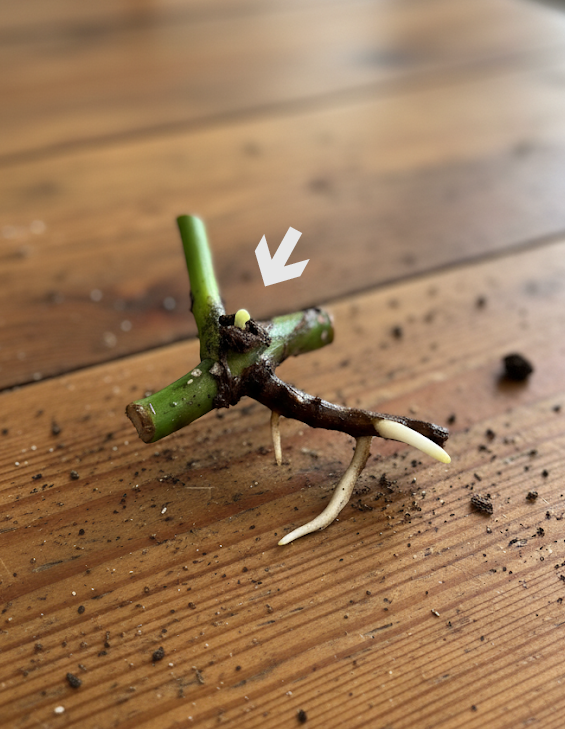
Step 3: Transfer to Soil
Once your cuttings have healthy white roots, you can move them into soil.
- Select a small pot with drainage holes (a 4–6 inch pot is perfect).
- Use a well-draining Monstera soil mix — ideally one that contains perlite, orchid bark, and peat or coco coir.
- Place the cutting in the pot, burying the node 1–2 inches below the surface.
- Add more soil around the cutting and gently press to secure it.
- Water thoroughly so the soil is evenly moist.
👉 For the first few weeks, keep the soil slightly more moist than usual to help the plant establish. Once the cutting starts producing new leaves, switch to a regular watering routine (allowing the top inch of soil to dry before watering again).
Step 4: Care for Young Plants
Caring for freshly propagated Monstera is slightly different from caring for mature plants.
- Light: Place in bright, indirect light to encourage steady growth.
- Humidity: Higher humidity (60%+) helps cuttings thrive. A humidity dome, greenhouse cabinet, or even a plastic bag tent can help.
- Watering: Keep soil evenly moist during the first month.
- Fertilizer: Hold off on fertilizer until you see at least one new leaf, then start with a diluted liquid fertilizer.
Common Propagation Questions
Will the Parent Plant Grow Back?
Yes! Your original vine will sprout new growth from the node below where you made the cut. In fact, pruning often encourages fuller growth and prevents legginess.
Can I Propagate Year-Round?
You can propagate any time, but spring and summer give the fastest results because the plant is in active growth. In winter, rooting takes longer. If you use grow lights, you can propagate successfully year-round.
What If the Leaf Dies?
Don’t panic. As long as the vine and node remain healthy and green, the cutting can still grow. A leafless cutting, sometimes called a “wet stick” or “chonk”, can produce new growth when placed in moist sphagnum moss or soil.
Can I Propagate Without Water?
Yes. You can also propagate in soil or sphagnum moss:
- Soil propagation: Place cuttings directly into a moist, well-draining mix. Keep humidity high until roots form.
- Moss propagation: Lay cuttings on damp sphagnum moss in a container with a clear lid to maintain humidity.
- Air layering: Wrap moist sphagnum moss around a node still attached to the mother plant, cover with plastic wrap, and wait until roots grow before cutting it off.
Tips for Success with Variegated Monstera Propagation
- Use healthy material: Avoid cuttings from damaged or sick plants.
- Be patient: Some cuttings root quickly, others take months.
- Provide stability: Stakes or moss poles help young plants climb and grow stronger.
- Encourage variegation: Give your plant enough light — low light can cause new leaves to revert to green.
Final Thoughts
Propagating variegated Monstera is a rewarding process that helps you expand your collection, share with friends, and even preserve rare plants. By following these steps — making single node cuttings, rooting in water, and transferring to soil — you’ll dramatically increase your chances of success.
Whether you’re propagating Monstera Albo or Thai Constellation, the process is the same. With patience, care, and the right environment, your cuttings will grow into thriving new plants that you can enjoy for years to come.